 At long last I'm back with a building article! This time I've been working on one of Warlord Games Panzer IV's, this time with a winter feel to it to accompany some Winter Russians I'm converting to Winter Germans. I'll not do a review as I've already reviewed the kit here and I've also compared it to Rubicon and Die Waffenkammer here.
For this tank I decided to make a really banged up, worn looking vehicle, with plenty of missing mudguards and Schurzen, as well as only partial Zimmerit. The observent of you will be aware that Warlords kit doesn't actually come with Zimmerit paste so my first task was to add this to my tank.
I'll do a more detailed guide in the future, but for now I apply Zimmerit using White Milliput applied in a fairly thin layer to the surface to be treated, then wet the surface and lightly drag a razor saw through the milliput to add texture. It's simple, but can be quite time consuming.
The key defining part of a tank in winter camoflage is the winter white wash paint (Shockingly!) This was applied in the field, and tended to range between beautiful and smooth white finishes to damaged chipped and faded finishes. Naturally this is the effect I'm going for.
To do the winter finish I sprayed the Panzer with grey auto primer first, then used Middlestone, Reflective Green, and Hull Red to apply a standard 3 tone camouflage scheme to the tank. I sprayed the panzer with gloss varnish and applied the turret numbers from a Warlord decal sheet, then re glossed it. The reason for using gloss varnish is it's harder wearing than matt varnish, and the later stages of paint work better over a gloss surface.

I can't recommend leaving the tank to dry for at least 3 days strongly enough, I left mine for a week then used blue tac to cover the transfers to spare them being painted out when I applied the white was finish. I use a scale modelling technique to give a worn finish to my armour, and this is achieved by dipping the model in water, then rubbing it in table salt, letting the salt congregate in areas that are heavily worn and used by the crews.

As soon as the surface of the tank is relatively dry, though it doesn't have to be completely dry I sprayed it with Vallejo Off White, starting lightly then letting the paint build in the centre of panels and upper surfaces.
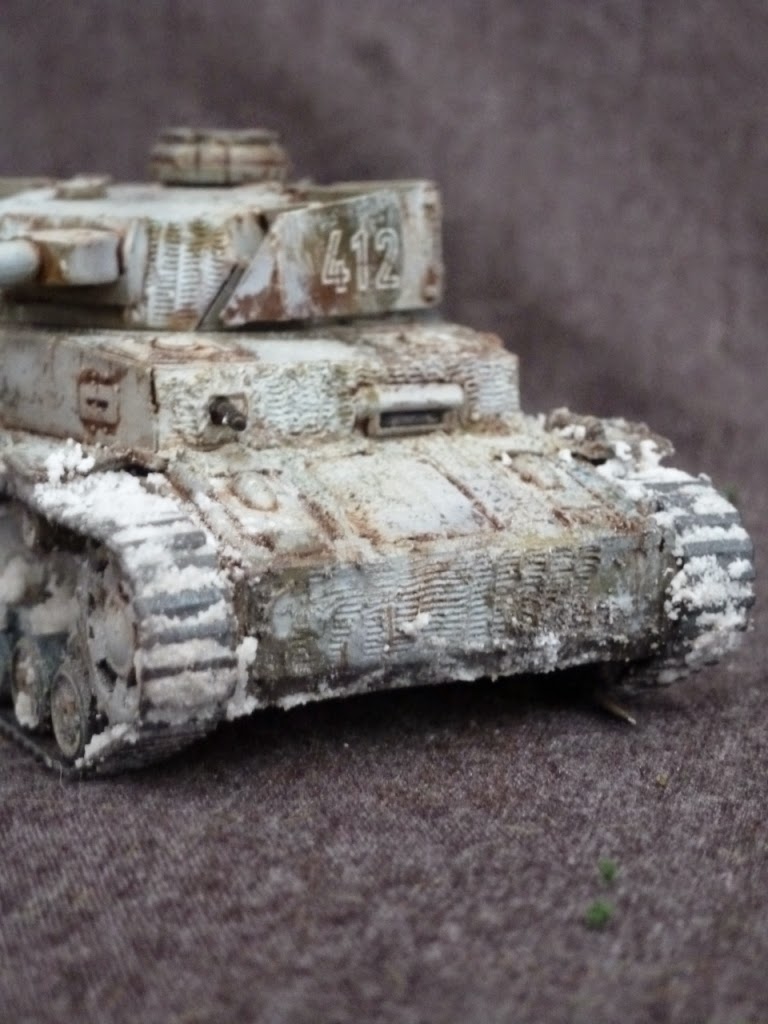
 After the white was applied I then left it a couple of hours to dry, and then washed the salt off to reveal patches of the camouflage beneath and give a nicely chipped look, Once the salt was off I re glossed my tank and then painted artists oil paint Burn Umber into the panels, recesses and other areas of wear and tear to add a bit of interest to the tank.
The snow was done by mixing baking soda and Vallejo Water Effect, and caking it in the tracks and running gear. At that the tank was done, and awaits it's infantry support!

As always you can see more of my work here at Volley Fire Painting Service and you can get your own Panzer IV's from Warlord Games
No comments:
Post a Comment