 Hi
all, with the Christmas Holidays upon us I suspect there could be a lot
of people putting together their first plastic sets for Bolt Action
(And any other game for that matter). As such I thought I'd share a few
thoughts I have on the subject. I origionally wrote this piece for the companion blog I write for, A tale of bearded gamers. You can follow the progress of my US Marines, as well as the forces of Jez Allum, Jamie Tranter and Brian Ward, as well as our thoughts and processes in collecting an army.
Hi
all, with the Christmas Holidays upon us I suspect there could be a lot
of people putting together their first plastic sets for Bolt Action
(And any other game for that matter). As such I thought I'd share a few
thoughts I have on the subject. I origionally wrote this piece for the companion blog I write for, A tale of bearded gamers. You can follow the progress of my US Marines, as well as the forces of Jez Allum, Jamie Tranter and Brian Ward, as well as our thoughts and processes in collecting an army.- Proper tools. Glue Glue Glue Glue Glue. I build probably thousands of figures over the course of a year and have learned that a pair of side cutters, a good knife and some plastic solvent glue are the most important tools around. My recommendation is this Plastic Weld. It creates a very solid join, and applying a little with an old paint brush to each bonding surface melts the plastic a little and gives you lots of play with the posing before it fully dries.Humbrol and other modelling glues are similar, but not as good as a pure solvent. If you don't have some, get some. When bonding plastic to metal you want Superglue. Superglue for plastic to plastic will cause you endless frustration and irritation. Did I mention using proper plastic glue? No? Get some.
- Proper tools. A pair of side cutters are cheap, here's an example of lots of types of Side cutters. The allow you to get the part off the sprue and without warping or bending the part in the process. When working on smaller parts like tools or pouches, I hold onto the part and clip the surrounding sprue away away along with the part still attached. This makes it far easier to trip the part without loosing it in the process.
- Proper tools!!!! A decent modelling scalpel is another must have. They are also cheap, and are fantastic for getting rid of mould lines and sprue connecting joints.
There
are other tools you can use, but to be honest these are the only ones I
generally touch. I do have a pin vice for drilling small parts like
aerials and gun barrels, and also some wet and dry sand paper in a few
different grains for particularly stubborn sanding areas, though for the
purpose of building figures these aren't so important.
 When
putting plastic figures together don't get hung up on thinking that
parts have to go specifically with a body or that two arms always always
have to go together. What I tend to do, especially on sets of figures
with a variety of arms is just play around and see what works
aesthetically for me. It's worth using the position of the feet as a
guide to getting the figure to look natural. The feet pointing one way
and the arms and head pointing in different directions tends to look
subtly wrong to the eye and can be somewhat dissatisfying.
When
putting plastic figures together don't get hung up on thinking that
parts have to go specifically with a body or that two arms always always
have to go together. What I tend to do, especially on sets of figures
with a variety of arms is just play around and see what works
aesthetically for me. It's worth using the position of the feet as a
guide to getting the figure to look natural. The feet pointing one way
and the arms and head pointing in different directions tends to look
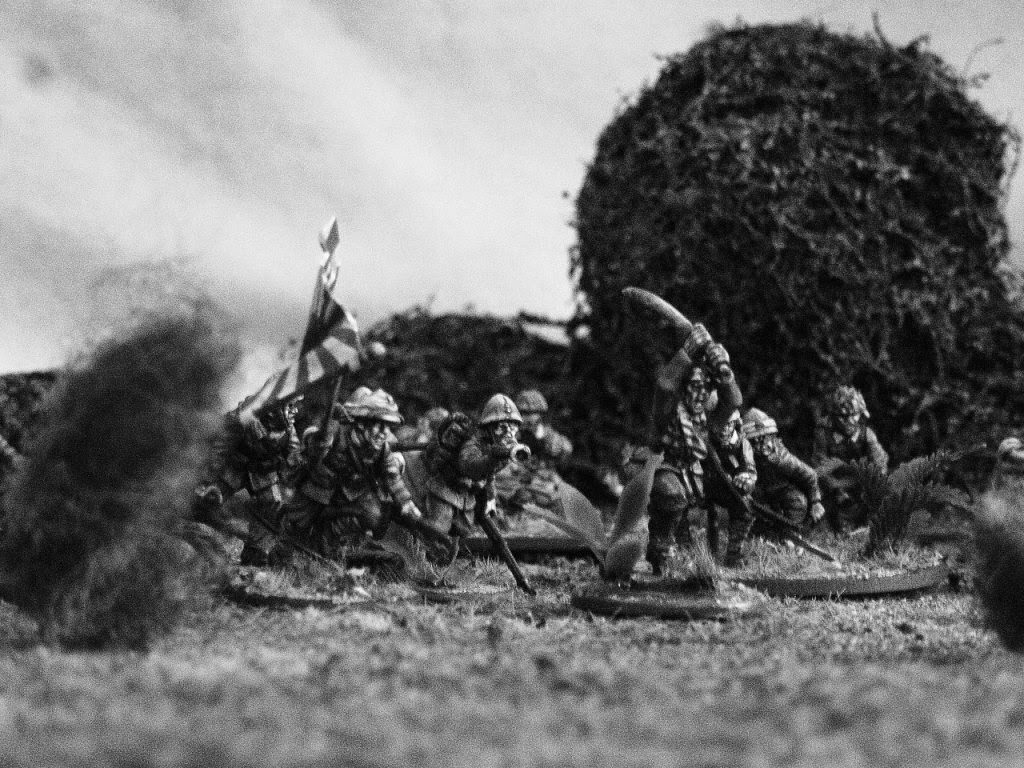
subtly wrong to the eye and can be somewhat dissatisfying.  Soldiers
in the Second World War were trained to move either with their weapon
at the port or trail positions, In the picture to the left are 3
Germans, the one on the far left is carrying his rifle at the trail,
whilst the other two are carrying theirs at the port, so having your
figures posed in this way can give your force a nice and subtley period
look.
Soldiers
in the Second World War were trained to move either with their weapon
at the port or trail positions, In the picture to the left are 3
Germans, the one on the far left is carrying his rifle at the trail,
whilst the other two are carrying theirs at the port, so having your
figures posed in this way can give your force a nice and subtley period
look. 
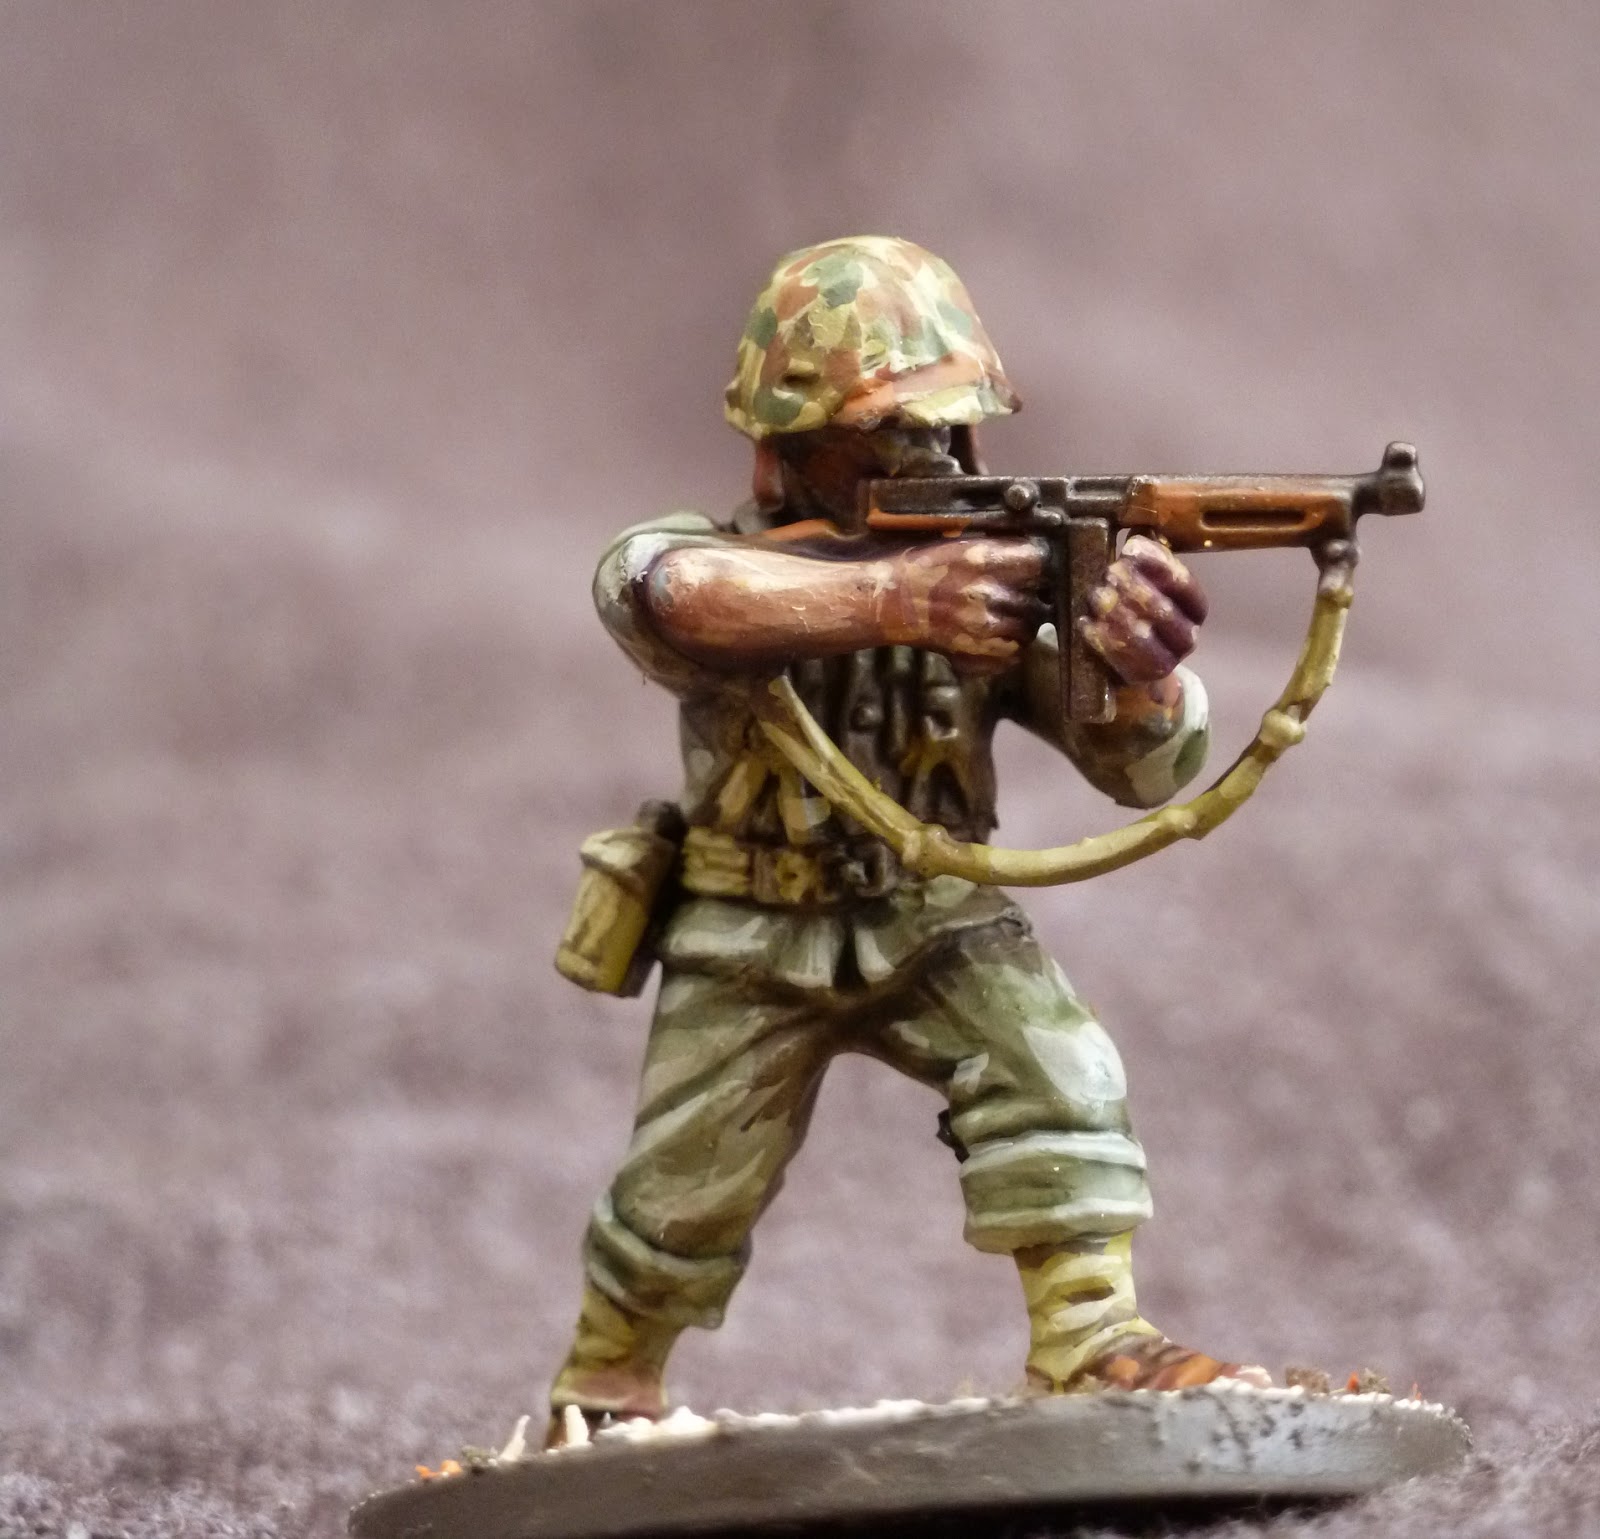
When
posing your firing figures try to keep them with the weapon tight to
their body with the weapon tucked into their shoulders. I'm not a fan of
figures running and firing simultaneously, so tend to save these for
figures with their legs suitably braced or kneeling.
 The
beauty of plastics is it's very easy to do conversions without having
to resort to extensive work. The SS Officer here was built using a
Warlord Plastic Blitzkrieg figure as a base, and then had a head taken
from their late war German set. The smock was sculpted on using White
Milliput.
The
beauty of plastics is it's very easy to do conversions without having
to resort to extensive work. The SS Officer here was built using a
Warlord Plastic Blitzkrieg figure as a base, and then had a head taken
from their late war German set. The smock was sculpted on using White
Milliput. 
The
loader in the Japanese LMG team was built straight from the box, with
not chopping around required, I simply used one of the arms used for
carrying a rifle at the trail position to make him appear to be changing
magazines on the weapon.
 This
late war Waffen SS squad features a 3 man LMG team from Artizan
Designs, and all the other figures are from Warlord Games Late War
German Infantry. The NCO has had a metal head added from the Warlord
range, however all the others are straight from the box.
This
late war Waffen SS squad features a 3 man LMG team from Artizan
Designs, and all the other figures are from Warlord Games Late War
German Infantry. The NCO has had a metal head added from the Warlord
range, however all the others are straight from the box.
I hope this has been of help, and as ever more of my work can be seen here at my site Volley Fire Painting


 Die Waffenkammers is by far the quickest model to assemble, and although it has very few parts is the only kit to come with a full set of Schurzen rails for the hull.


