You can join the discussion at our facebook group, or listen directly to the show at the links below.
Libysyn feed
RSS Feed
iTunes


 Onto my own stuff. As I've mentioned so far I've got 5 tanks in total and have spent quite a bit of time scouring my boxes and spares bins for stowage for them, as well as pondering images of vehicles in use by the Afrika Korp.
 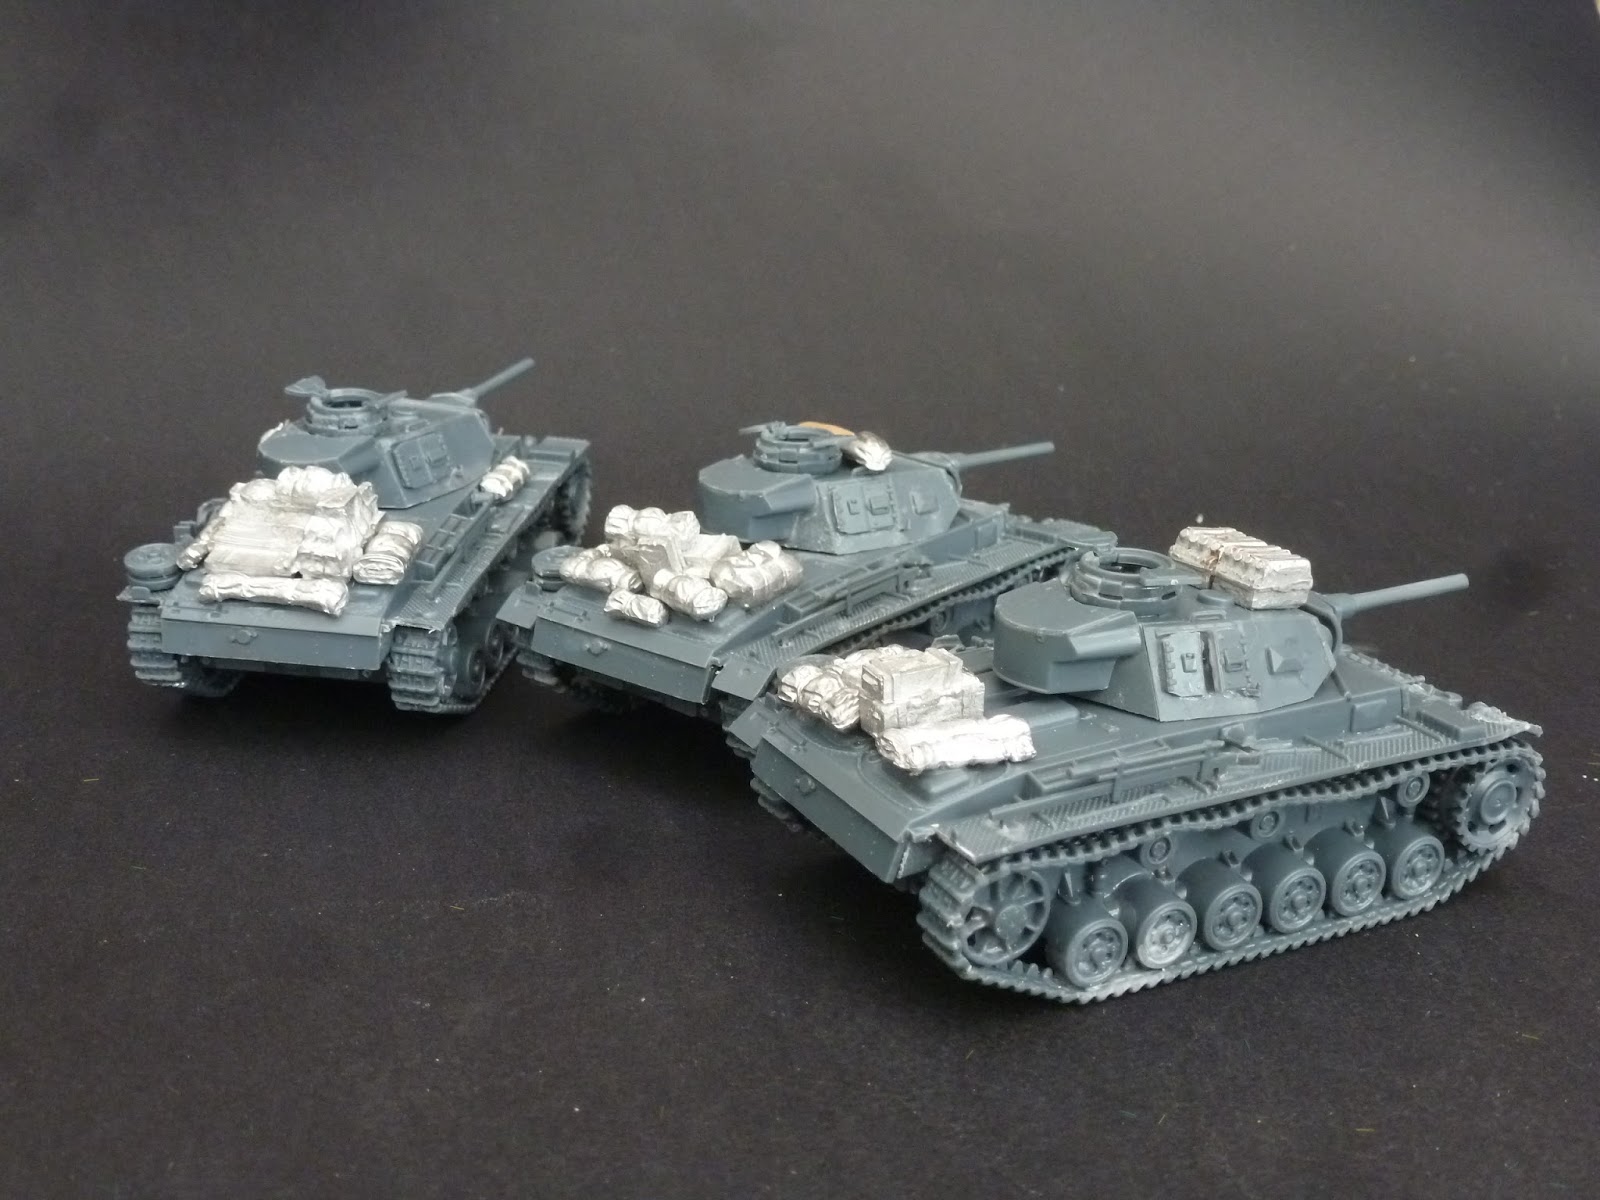 Replicating the stowage was relatively simple, and I delved into the extensive range of Warlord stowage I've acquired over the years, probably too many to actually list which ones I've used as I'm not 100% sure where some of them even came from.

 I've reviewed both the plastic Panzer III and Panzer IV on my blog previously and I'm a fan of both kits. As I'm loosely tying my force to 1942 I'm relatively limited to which vehicles I can use in the force, and these will form the core of my army in a tank wars force, with the addition of a few squads of infantry. The Panzer IV's will fulfil their role of supressing infantry and gun teams, whilst the Panzer III's rove around hunting armour and machine gunning soft skins... at least that's the plan for now.
 At long last I'm back with a building article! This time I've been working on one of Warlord Games Panzer IV's, this time with a winter feel to it to accompany some Winter Russians I'm converting to Winter Germans. I'll not do a review as I've already reviewed the kit here and I've also compared it to Rubicon and Die Waffenkammer here.
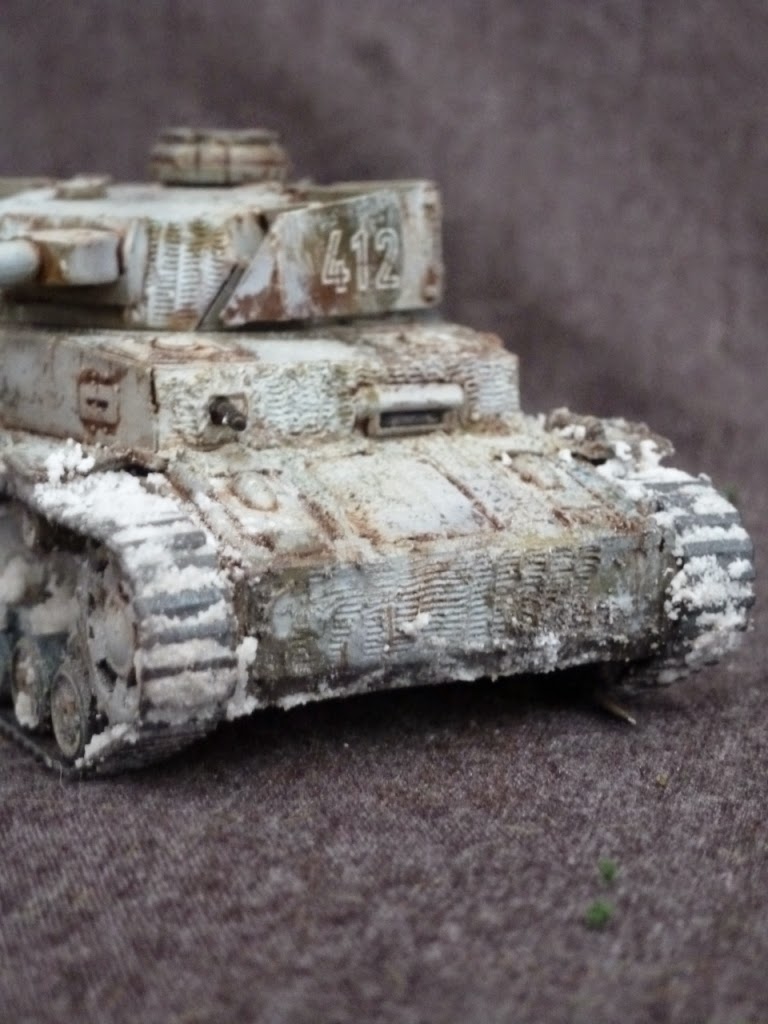


 After the white was applied I then left it a couple of hours to dry, and then washed the salt off to reveal patches of the camouflage beneath and give a nicely chipped look, Once the salt was off I re glossed my tank and then painted artists oil paint Burn Umber into the panels, recesses and other areas of wear and tear to add a bit of interest to the tank.


 Die Waffenkammers is by far the quickest model to assemble, and although it has very few parts is the only kit to come with a full set of Schurzen rails for the hull.

 The kit has in my opinion the best set of suspension of the 3models,and some beautiful detail on the hull and turret. No figures or stowage are included, though those are easy to source.


 Warlords Panzer IV covers the same versions as Rubicons, and has some very nicely detailed Schuzen, although it's a tad more complex than that of the Rubicon kit. Detail again is very good, although the 1 piece hull and wheels results in a slight loss of detail due to the limitations of the moulding technology used. All the parts fit well. Contruction took around 20-30 minutes, and also contains a beautiful commander figure, and some odds and ends like spare Jerrycans and wheels.

 With Christmas rapidly approaching I thought I'd do something totally festive and write about 2 bitter opponents from the Eastern Front, so here is my take on Die Waffenkammer (JTFM Enterprises) T34/76 UZTM turret kit, and also the Panzer IV Ausf H. First up, the T34.
 Die Waffenkammer's T34 is a masterpiece of simplicity, comprising of a hull, seperate track units, a one piece turret and a big bag of stowage, as well as a nice commander figure. Next to no clean up was required, apart from a good wash in some washing up liquid to ensure that all the mold release agent is removed from the resin. I also used a grey automotive primer on the tank as this is far harder wearing than a standard acrylic primer. Both these steps are very important due to the nature of the resin used, although this extends to all resin (And metal) models as well.
  After leaving the primer to dry for about 24 hours I attacked it with my airbrush, spraying the tank with through a range of green paints, starting with Vallejo 897 Brown Violet and finishing at 857 Golden Olive. Paint was misted on to give a sense of fading and wear to the green. Once this had dried I used artists oils as a wash into the recesses, and any excess paint was removed with a cotton bud. Mud was applied in a similar fashion to the wash, using Games Workshop Agrellan Earth left to pool in the recesses to give the impression of dried dust. a quick bit of googling provided a turret slogan which I painted on with Vallejo Silver Grey, and that was the T34 done!


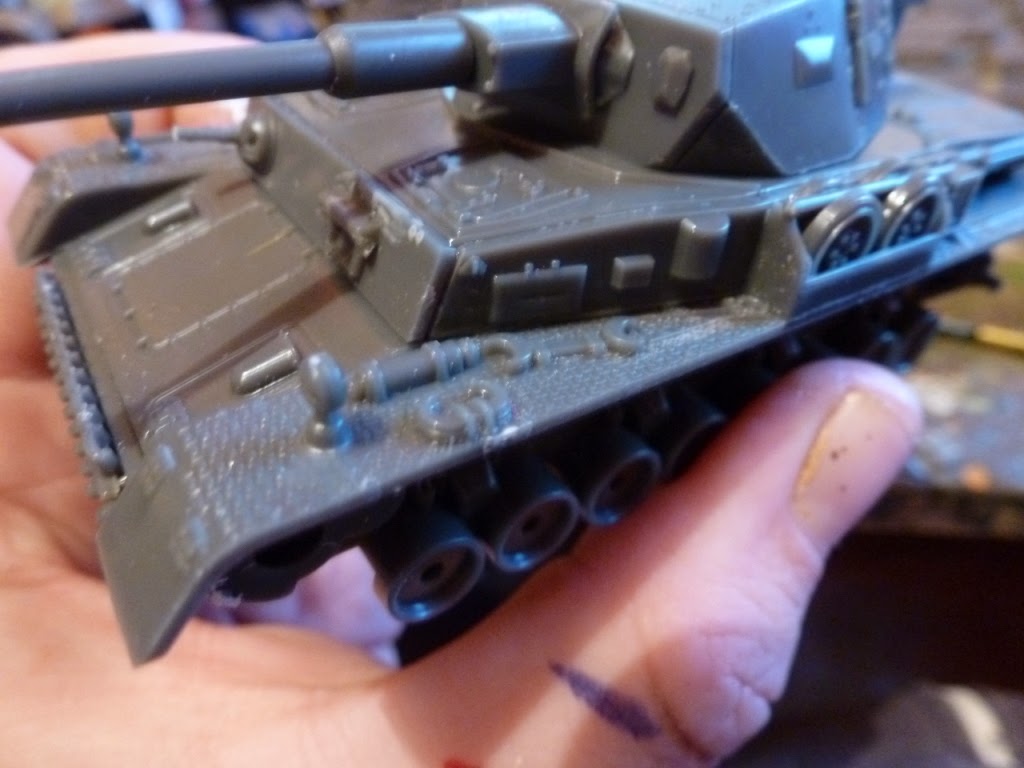
 Kit was a great fit and simple to assemble, with the instructions being clear and parts marked for each version. I found the fit of the hull front left a few small gaps, and I'd have liked to see the later 1 piece hatch for the Ausf H variant, but other than that it was great. The suspension unit comes in 5 parts, with wheels and hull side as one piece, to which you attach the 2 piece track units and outer face of the drive sprocket and rear idler wheel.


 The kit comes packaged in a nice sturdy box with a fancy picture on it, and details what your getting inside. I don't have a picture of it as I was so excited to get on with the build it went straight in the bin! Due to some clever engineering the kit gives you the option to build either a short or long barrelled Ausf F, an Ausf G or an Ausf H with Schurzen, and includes the short barreled 75mm L24 gun, and both the Long barrelled L43 and L48 75mm guns.