
Been a month since my last update on this project, so here's a heads up!
Carl, Sam and I have filmed another update that's already out on Youtube, and you can see that here.
In that vid I'm actually building one of my Panzer III's, and now have put together the Panzer IV's for the force too bringing me up to a total of 2 Panzer IV F1's, and 3 Panzer III Ausf J which were very kindly provided by Warlord Games. On the subject of Warlord, I've produced a quick and easy painting guide for DAK armour. This isn't the sexiest paint finish, but it will give you a nice and quick force without too much effort, and I've also just produced a follow up article on adding stowage to models too, which should be available before too long.

 Onto my own stuff. As I've mentioned so far I've got 5 tanks in total and have spent quite a bit of time scouring my boxes and spares bins for stowage for them, as well as pondering images of vehicles in use by the Afrika Korp.
The most common theme is piles of gubbins on the rear decks, and hanging off turrets, with the occasional damaged fender appearing once in a while too.
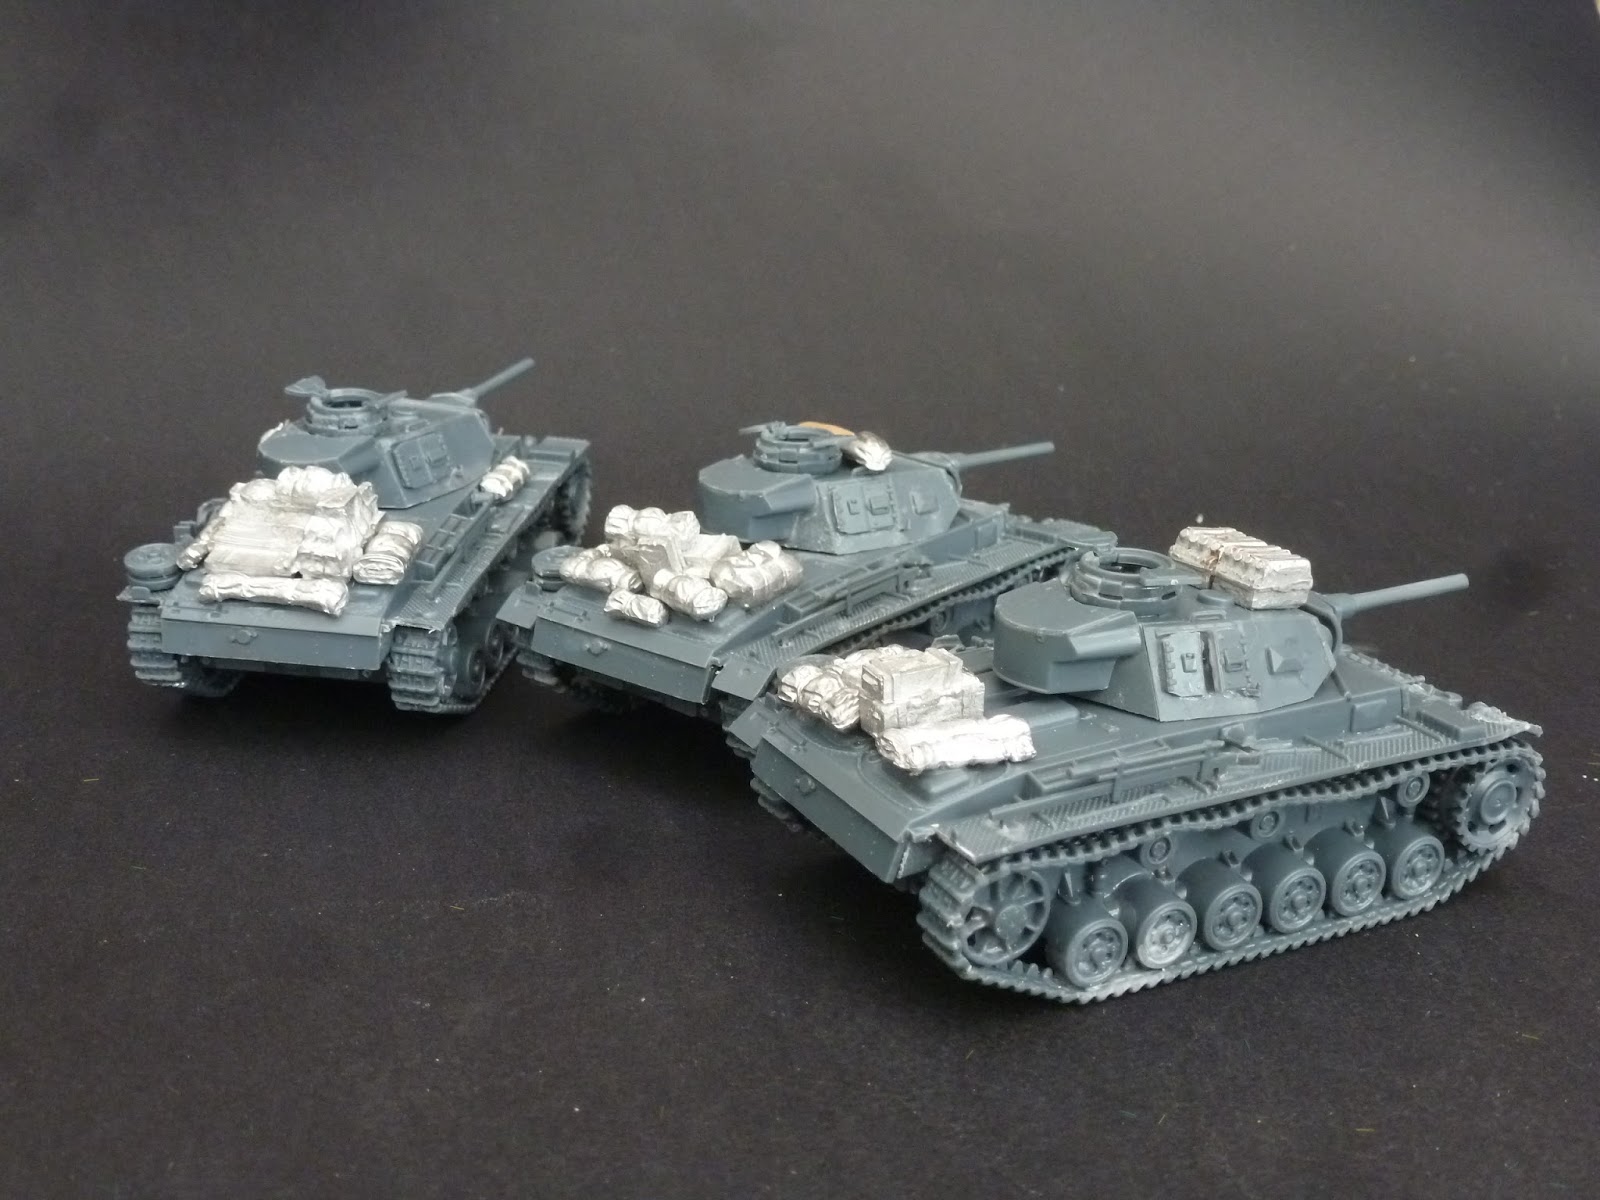 Replicating the stowage was relatively simple, and I delved into the extensive range of Warlord stowage I've acquired over the years, probably too many to actually list which ones I've used as I'm not 100% sure where some of them even came from.
With hind sight I do wish I had weighted my vehicles with some pennies or lead shot, however I did completely forget to do this in my enthusiasm to get the models done... Lesson learned for next time (probably not).

Adding the battle damage couldn't have been simpler, as I simple used some sprue cutters to trim off the parts I wanted gone ( I do love the track detail on the Panzer III especially and I've wanted to show this off for a while now on a model).

Doing the chipping was just as easy, I again used my clippers, in this case an old Citadel pair and lightly gripped the fender in the jaws and lightly twisted the part until
it bet and twisted using pictures of the real thing as a guide on how
far to go with it. The whole thing took maybe 10 minutes to do for all 5
vehicles (4 really as the first Panzer IV was undamaged...).
 I've reviewed both the plastic Panzer III and Panzer IV on my blog previously and I'm a fan of both kits. As I'm loosely tying my force to 1942 I'm relatively limited to which vehicles I can use in the force, and these will form the core of my army in a tank wars force, with the addition of a few squads of infantry. The Panzer IV's will fulfil their role of supressing infantry and gun teams, whilst the Panzer III's rove around hunting armour and machine gunning soft skins... at least that's the plan for now.
I'll be getting these painted up in the next week or two, and will do a step by step guild to how I airbrush them, and after this I'm tempted to expand the army now to cover the entire desert period as I really, really want to add at least a Tiger... Next time I'll be adding some recce 222 armoured cars, and maybe a Panzer II if I can find it in the stash, as well as a Tiger to form the centrepiece of the collection.

Thanks again to Warlord Games for their support in bringing this project to life, and as ever you can see more of my work at Volley Fire Painting Service
Finally, along with my friends Carl and Rob, we have started a historical gaming podcast named the Brit, the Yank and the Hobby, and episode one covers the history and gaming of the early part of the desert campaign, you can find us on Facebook, iTunes and for android or PC users
Great work as usual , was nice to meet you in person at salute at the fox .
ReplyDeleteVery much appreciated thank you, always great to meet up with people in person too
Delete